Cart 0

Pom-Pom Easter Eggs

Adhesive Aleenes craft Crafts crafty decorate DIY Double-stick Easter easy embellish embroidery floss Gifts Glue handmade Holiday how-to ideas instructions make Party PattieWack PattieWilkinson Pattywack Plastic Eggs Pom-Poms pompom pompommaker Projects step-by-step supplies Tabs Tacky tools

How To make PomPom Easter Eggs!

Are you decorating Easter eggs this year?  Step out from the tradition of dyeing your eggs and try these sweet wrapped creations!  There's even a little pom pom on top to up the cute factor! 
What you need:
Aleene's Tacky Double-Stick Sheets (available at Michaels)
– Plastic Easter eggs
– Variegated embroidery floss
– Scissors
– Mini pom poms (make them yourself or purchase from the store)
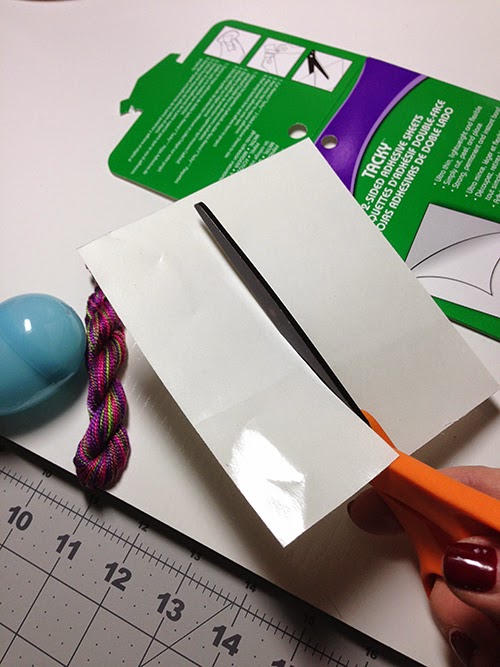
 Cut your Tacky 2-Sided Adhesive Sheet in half.
Now peel back one side of the paper.
 Wrap the sticky part around one half of your egg.
Make sure to get all that sticky goodness over the entire surface!
 Unravel your floss and position two threads as shown.  Having the ends in this position will keep it from unraveling, plus you can neatly hide them for a nice craftsmanship!
 Continue winding the floss around the egg. As you can see, I pulled two strands at a time to give it more of an interesting stripe effect.
Continue until you reach the top of the egg. Cut your floss and press into place.
Now do the other side using the same process. When you are finished, they will lock together like this.
 Add a Jewelry and Metal Adhesive Tab to the top of the egg. Peel off the red tab at top.
Now add your pom pom for a finishing touch. Easy peasy!
They turned out so cute and colorful.  I think I might just have to display these after Easter!


Older Post Newer Post


Leave a comment

Please note, comments must be approved before they are published